

The Ultimate Beginner-Friendly Guide
Have you ever completely finished your morning makeup routine only to step outside and notice cakey foundation, patchy concealer, or a foundation shade that looks completely different in natural outdoor light?
✨ You are definitely not alone . . .
Learning the 10 key things to consider when applying face makeup can make your daily routine so much easier, faster, and incredibly flattering. Whether you are an absolute beginner or simply want a fresh, professional approach to your everyday look, these practical, real-world tips will help you prepare your skin barrier, choose better cosmetic products, apply makeup smoothly, and protect your natural skin health.
Keep reading to discover how to create a gorgeous face makeup routine that looks beautifully polished without ever feeling heavy or masked!
1. Start With a Clean, Comfortably Hydrated Base

Before you even think about touching your favorite foundation or skin tint, it is crucial to wash your face with a gentle cleanser that is perfectly suited to your specific skin type. Thoroughly removing excess oil, overnight sweat, and leftover skincare products helps your makeup sit more evenly and prevents it from separating later in the day. Always gently pat your skin dry with a clean microfiber towel instead of aggressively rubbing it, especially if your face feels sensitive or prone to redness.
Follow up immediately with a lightweight, nourishing moisturizer. Dry skin types need deep, rich hydration, while oily or acne-prone skin types will heavily prefer an oil-free, water-based formula. Give your skincare products a few minutes to fully absorb into the skin before reaching for your face primer or foundation.
Why it matters: Taking these simple, easy preparatory steps makes a massive, noticeable difference in how long your makeup lasts throughout a busy day.
Beauty Golden Rule: Truly great face makeup always starts with healthy, well-cared-for skin, never a thicker layer of heavy foundation. If you want to enhance your canvas naturally using simple whole ingredients, try incorporating an affordable honey and plain yogurt glow mask into your weekly routine.
For more inspiration, explore – Face Beauty Enhancement of Young Women – related article about Beauty.
2. Choose Products Formulated for Your Specific Skin Type

Your makeup should always work in perfect harmony with your skin, not fight against it. If your skin is naturally dry or prone to flaking, look for rich, creamy, or deeply hydrating liquid formulas. On the other hand, if your face becomes shiny or oily within a few hours, try lightweight, non-comedogenic, or oil-controlling matte products.
- Combination Skin Strategy: Combination skin types may require entirely different textures on different areas of the face. For example, you could apply a deeply moisturizing primer onto your cheeks and a smoothing, oil-absorbing primer exclusively around your nose, chin, and forehead.
Please do not feel pressured to buy every single beauty product trending on your social media feeds. A carefully chosen, low-cost collection consisting of a gentle cleanser, a reliable moisturizer, a lightweight foundation or skin tint, a targeted concealer, a fresh blush, and a setting product is more than enough for a stunning everyday look.
Pro Tip: The absolute best makeup product in the world is simply the one that still feels comfortable and weightless on your unique skin after several hours of wear.
3.Match Your Foundation to Your True Undertone

Finding the exact shade match is arguably one of the most important elements of face makeup. Your skin’s undertone generally falls into three main categories: warm, cool, or neutral. Warm undertones often look beautifully golden, olive, or peachy; cool undertones typically appear distinctly pink, rosy, or bluish; while neutral undertones can beautifully suit elements from both directions.
- How to swatch correctly: Always test new foundation shades along your actual jawline rather than just rubbing it onto the back of your hand. Always check the blended shade near a bright window or out in natural daylight. Harsh, yellow store lighting can easily trick your eyes into buying a color that doesn’t actually match.
If you find yourself stuck directly between two shades, consider mixing a small drop of both colors together, or choose a lighter, sheerer formula that blends seamlessly into your neck. This is also a smart, low-cost way to make your existing makeup collection much more useful across different seasons.
Style Rule: A perfect foundation match should completely disappear into your skin instead of loudly announcing its presence.
4. Use Primer Only Where Your Face Actually Needs It
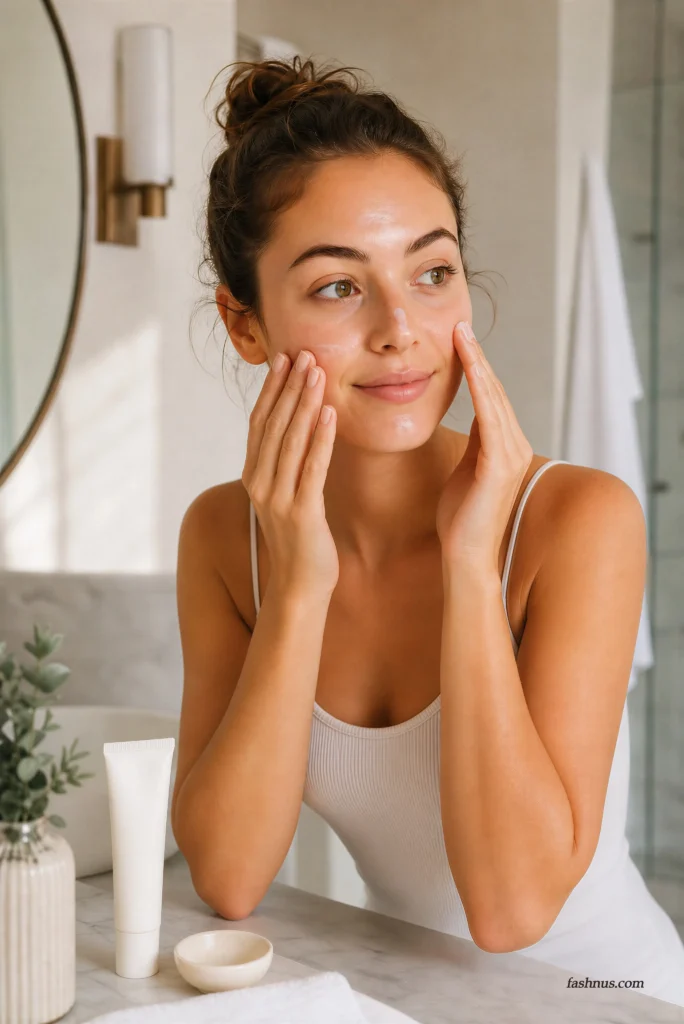
Face primer is a fantastic tool that can smooth out skin texture, inject extra hydration, control excess shine, or help your makeup last significantly longer. However, slathering too much product all over your face can cause your makeup to awkwardly slide, separate, or feel heavy.
Apply a small, pea-sized amount of primer only to targeted areas that require extra support. Use a silicone-based smoothing primer around visible pores, a rich hydrating primer strictly on dry winter patches, or a hard-working mattifying formula down the center of your T-zone.
Let your primer settle completely for a full minute before applying any foundation. If your makeup products start to roll up into tiny, annoying flakes, you are likely layering incompatible formula bases (such as mixing a silicone primer with a water-based foundation) or applying too much heavy skincare underneath.
Pro Tip: Primer is a highly targeted correction tool, not a mandatory mask that needs to cover your entire face.
5. Apply Foundation in Ultra-Thin Layers

A thin, lightweight layer of foundation will always look drastically more natural and fresh than one heavy, thick application. Start by dotting a tiny amount of makeup directly in the center of your face, where redness and discoloration are usually most prominent, then blend it outward toward your hairline using a clean, damp sponge, a buffing brush, or your fingertips.
Build up your coverage slowly and only in areas that genuinely need it. You might require a bit more product around acne blemishes or the sides of your nose, but your cheeks, forehead, and jawline typically require much less coverage.
Application Technique: Lightly pressing, bouncing, and tapping your tool into the skin creates a much smoother finish than aggressive, back-and-forth rubbing motions. Always remember to blend the excess product down your neck, around your hairline, and near your ears if your hairstyle or outfit leaves those areas exposed.
Style Rule: Apply less product than you think you actually need, then build up your coverage slowly.
6. Treat Concealer as a Surgical Detail Product

Concealer is engineered with a high pigment load designed to brighten and correct very specific, targeted areas. Avoid covering your entire face with concealer; instead, apply it sparingly under the eyes, around the crevices of your nose, or directly over active blemishes.
To brighten dark circles under the eyes, place a tiny dot near the inner corner and a small lift at the outer corner, then blend gently outward using your ring finger or a small brush. For blemishes, place a tiny micro-dot directly on top of the spot, let it sit for 30 seconds to build coverage, and then tap gently only around the outer edges. Avoid rubbing the center, which will instantly remove the product you just applied.
Pro Tip: Conceal strategically so your real, beautiful skin still looks like actual skin. If you love a radiant complexion, you can also experiment with a micro-pinch of anti-inflammatory turmeric mixed with mashed banana as a natural pre-makeup brightening boost.
If you enjoy experimenting with your appearance, visit the Face Beauty Enhancement of Young Women
7. Add Your Facial Color Gradually

Blush, bronzer, and contour are incredible tools that bring warmth, life, and beautiful dimension back to your face after foundation. The golden key is to always begin with a very small amount of product. Powder products are generally much easier for beginners to build up slowly, while cream or liquid formulas can create a beautifully soft, fresh, and dewy finish.
Apply your blush to the high points of your cheeks where they naturally lift when you smile, blending it upward and outward toward your temples for a youthful lift. Place your bronzer lightly around the perimeter of your face where the sun would naturally hit, such as the top of your forehead, the cheekbones, and the bridge of your nose.
Avoid Over-saturation: Avoid using one solid color all over the face. Creating slight variation gives a much more believable, healthy result and prevents your face makeup from looking flat.
Style Rule: Your cheek color should look like a natural, healthy glow from within, never a stark, muddy stripe painted onto your skin.
8. Master the Art of Blending at the Outer Edges
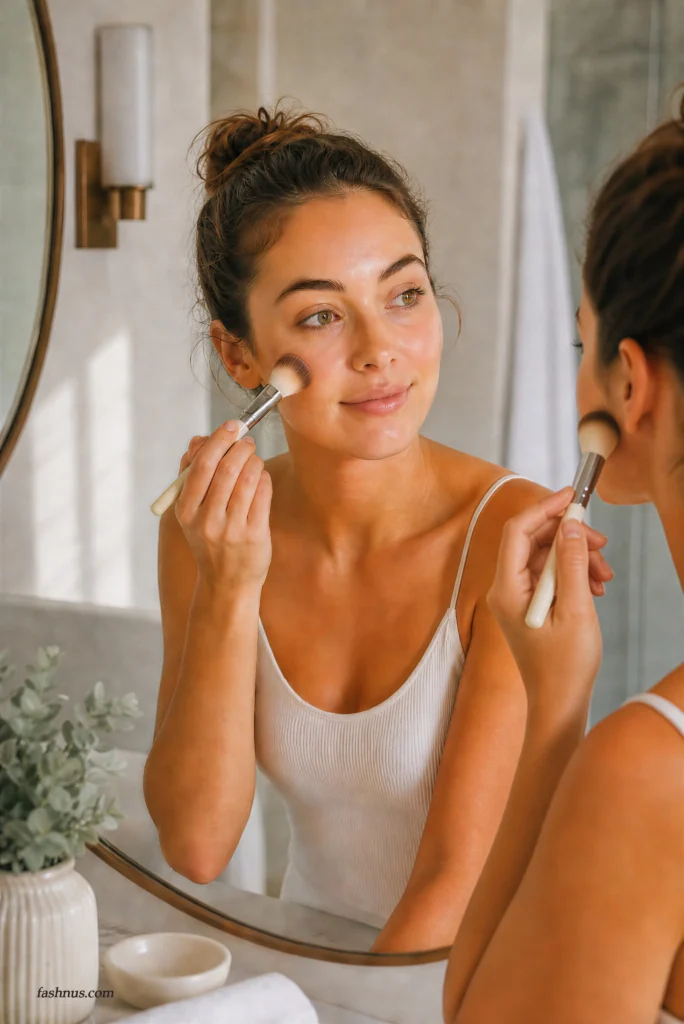
Blending is the ultimate magic step that seamlessly turns separate makeup products into one beautifully cohesive, polished look. Before you lock anything down with setting powder, always check the transition edges of your foundation, concealer, blush, and bronzer.
Use a clean, fluffy brush or a damp sponge to soften any harsh lines or patches. Pay close attention to the sides of your nose, your jawline, your temples, and the area directly beneath your cheekbones. Take a step back from your mirror occasionally so you can evaluate the entire effect from a distance instead of hyper-focusing on one tiny area.
Pro Tip: When in doubt, always blend the outer transition edges of your makeup, never the concentrated center.
9. Prioritize Tool Hygiene and Skin Safety

Healthy makeup habits are just as important as a beautiful, technical application. Make it a strict habit to wash your makeup brushes and sponges regularly with a gentle soap, completely avoid sharing eye or lip cosmetics with others, and immediately discard any products that smell unusual or have changed texture.
Always remove your makeup completely before going to bed, no matter how long or exhausting your day was. Be exceptionally careful with products applied close to the delicate eye area.
Safety Warning: If any cosmetic product causes burning, swelling, itching, or persistent redness, stop using it immediately, wash it off, and seek professional medical advice if the symptoms continue.
Health Rule: Clean tools and fresh, unexpired products are absolute beauty essentials, never optional extras.
10. Lock In Your Look and Perform a Final Daylight Check

A light misting of setting spray or a very delicate dusting of translucent powder can help your face makeup stay completely locked in place all day. Apply powder mainly to areas that naturally become shiny or greasy, such as the center of the forehead, the nose, and the chin. Using too much powder can instantly make your face appear dry, heavy, or emphasize fine lines.
Once your makeup is fully finished, grab a hand mirror and inspect your face in raw, natural daylight. Look closely for any unblended edges along the jawline, foundation build-up around the hairline, or an incorrect color mismatch. Toss a few simple touch-up items into your bag, like a hydrating lip color, oil-blotting papers, or a small concealer stick, to handle any emergency touch-ups on the go.
Final Step: Always perform a quick, final daylight check before heading out to an important outing, school date, or photo session.
Table of Contents
Ready to Perfect Your Makeup Routine?
Your daily beauty routine should be a fun, realistic expression of your creativity. By curating a simple, low-cost makeup bag filled with a few reliable, high-quality basics, you can achieve a flawless look that highlights your natural features without breaking the bank.
If you found these blueprints helpful, make sure to save this guide for your next morning routine!
Continue exploring our platform to uncover exclusive skincare secrets, step-by-step DIY tutorials, and the latest beauty inspiration to keep your style looking entirely effortless and unique!
Stay radiant, and let your natural beauty shine!

