
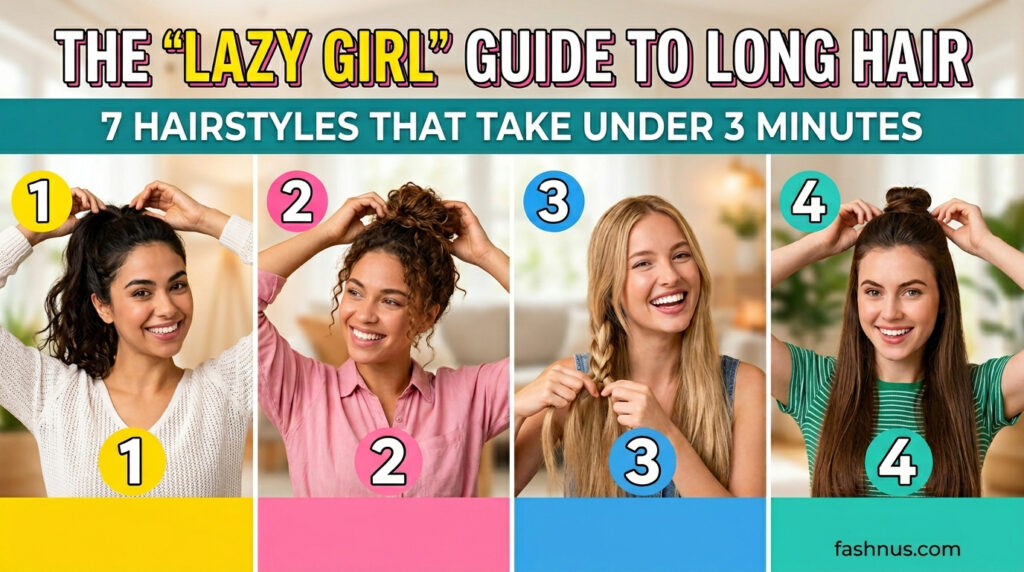
7 Hairstyles That Take Under 3 Minutes
You woke up late. Again. Your long hair is everywhere, and you have exactly 3 minutes before you need to run out the door.
Sound familiar?
You don’t need a blow dryer, 47 bobby pins, or professional training. You just need a few lazy-girl tricks that actually work for long hairstyles when you’re in a rush.
In this guide, I’m sharing 7 ridiculously easy hairstyles. Each one takes under 3 minutes. Each one looks like you tried (spoiler: you didn’t). And each one works on long hair – straight, wavy, or messy-from-bed texture.
Grab a claw clip and a scrunchie. Let’s get you out the door looking cute.
1. The Twisted Low Ponytail (Fancy in Seconds)
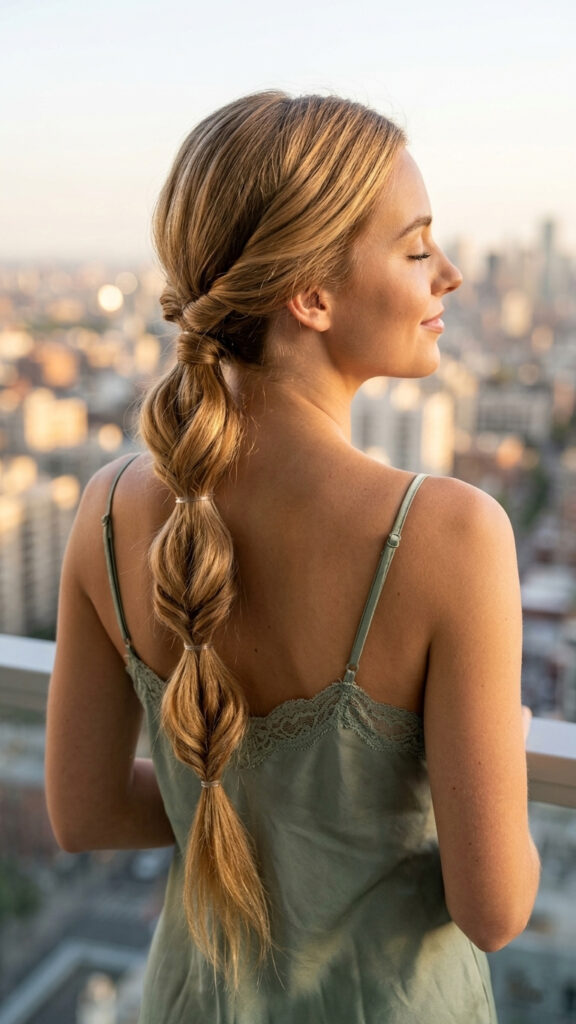
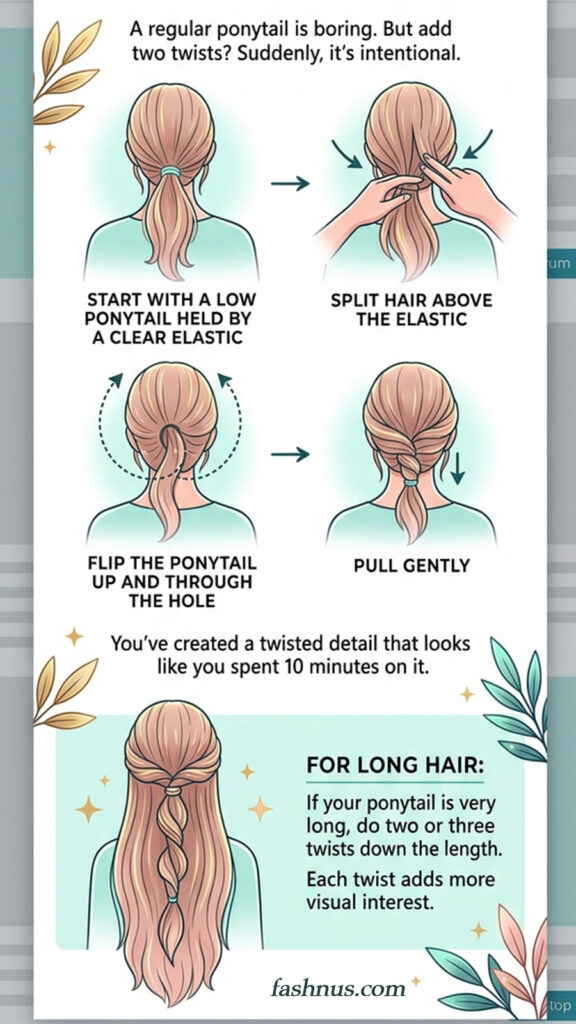
A regular ponytail is boring. But add two twists? Suddenly it’s intentional.
Start with a low ponytail held by a clear elastic. Then split the hair above the elastic into two holes. Flip the ponytail up and through the hole. Pull gently. That’s it.
You’ve created a twisted detail that looks like you spent 10 minutes on it.
For long hair: If your ponytail is very long, do two or three twists down the length. Each twist adds more visual interest.
Save-worthy tip: Use a silk scrunchie instead of an elastic. It hides the twist base and won’t pull your hair.
2. The Claw Clip Updo (The Ultimate Lazy-Girl Hack)
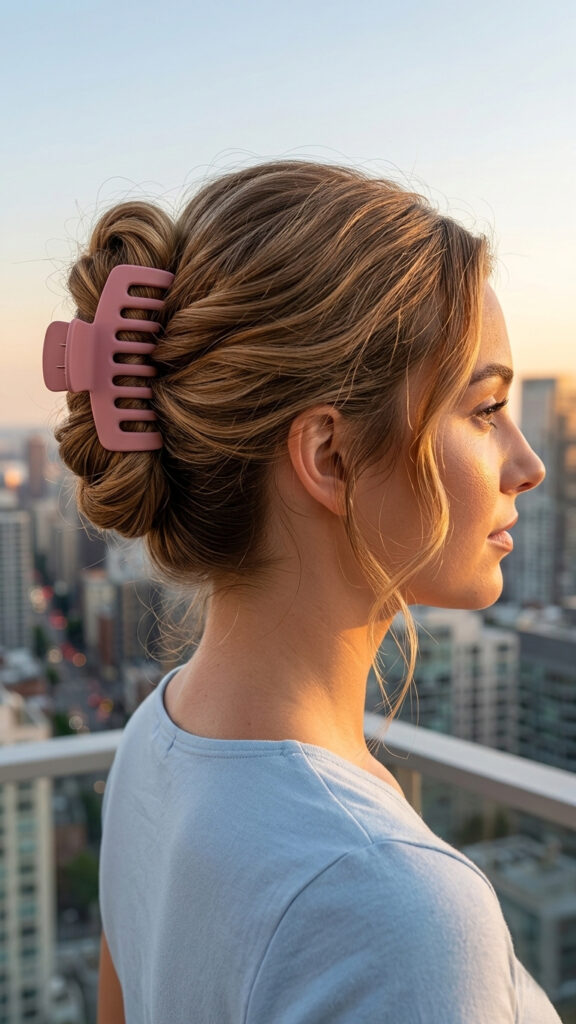
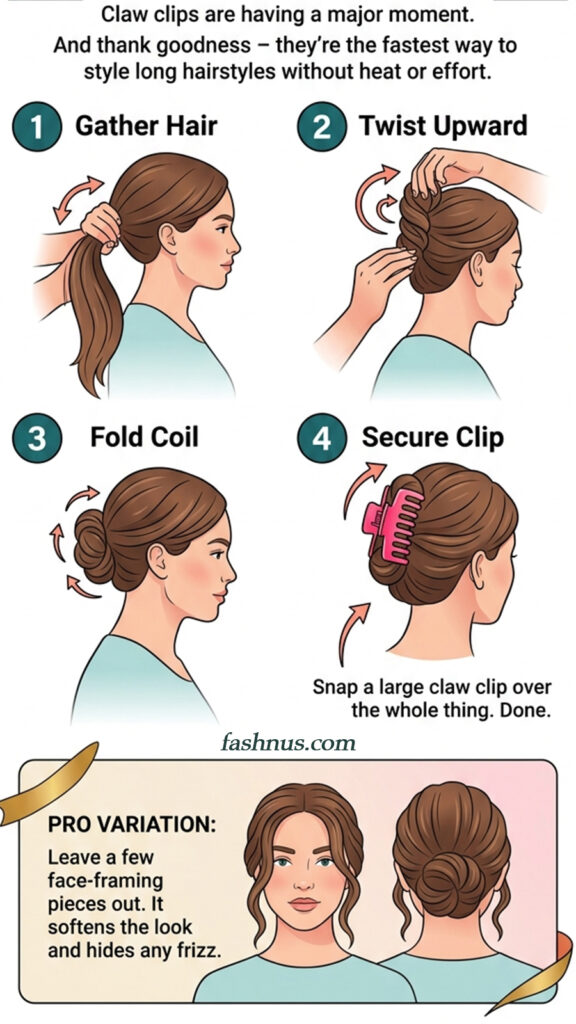
Claw clips are having a major moment. And thank goodness – they’re the fastest way to style long hairstyles without heat or effort.
Here’s the 30-second method: Gather all your hair like a low ponytail. Twist it upward until it starts to coil. Fold the coil against your head. Snap a large claw clip over the whole thing. Done.
Pro variation: Leave a few face-framing pieces out. It softens the look and hides any frizz.
Save-worthy tip: Buy the largest claw clip you can find. Small clips won’t hold long hair. Big clips = secure hold.
https://invideo.sjv.io/c/7204611/883681/12258
3. The Bubble Braid (Pinterest Gold, Zero Skill)
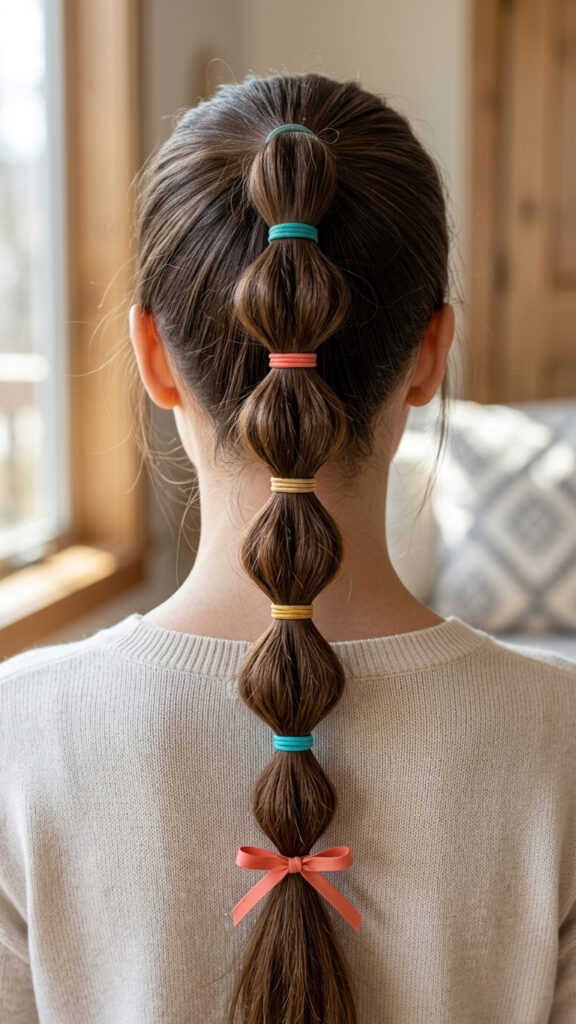
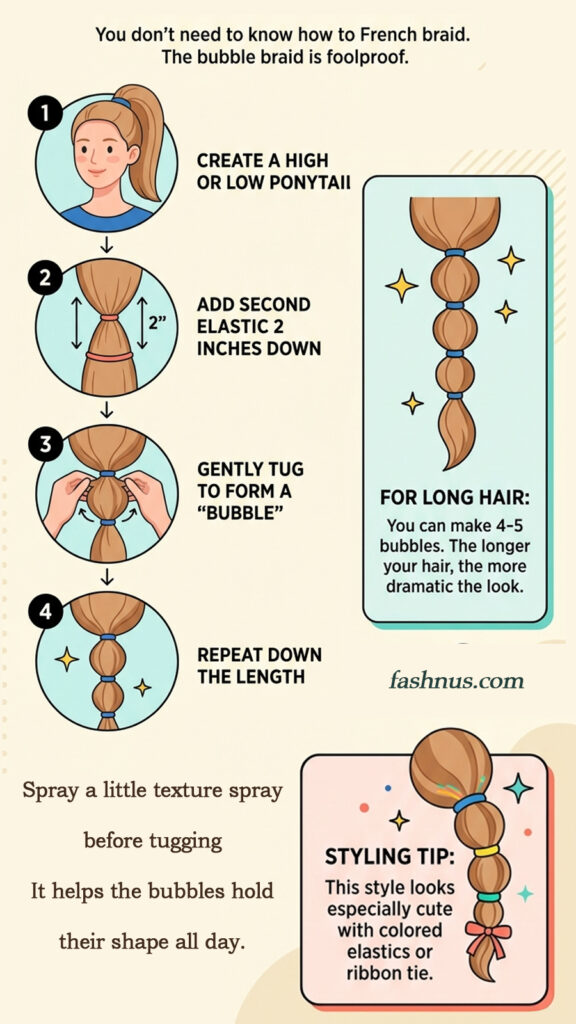
You don’t need to know how to French braid. The bubble braid is foolproof.
Pull your hair into a high or low ponytail. Add a second elastic 2 inches down. Gently tug the section between the elastics to create a “bubble.” Add another elastic. Tug again. Repeat down the length.
For long hair: You can make 4-5 bubbles. The longer your hair, the more dramatic the look.
This style looks especially cute with colored elastics or ribbon ties.
Save-worthy tip: Spray a little texture spray before tugging. It helps the bubbles hold their shape all day.
Want more heatless styling ideas? Check out https://fashnus.com/heatless-curls-for-fine-fragile-hair for overnight waves that pair perfectly with bubble braids.
4. The Half-Up Topknot (Messy, Cute, and 60 Seconds)
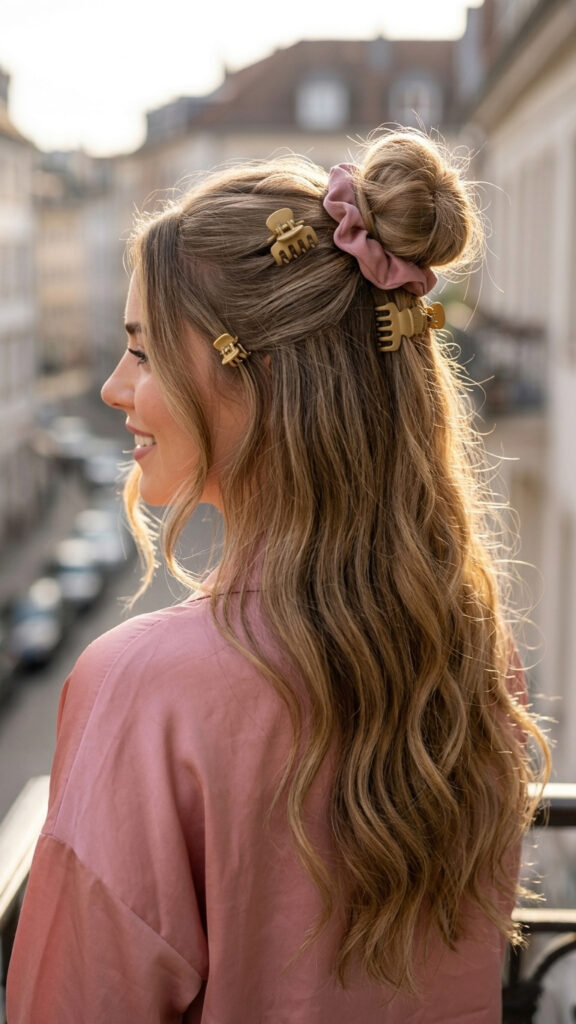
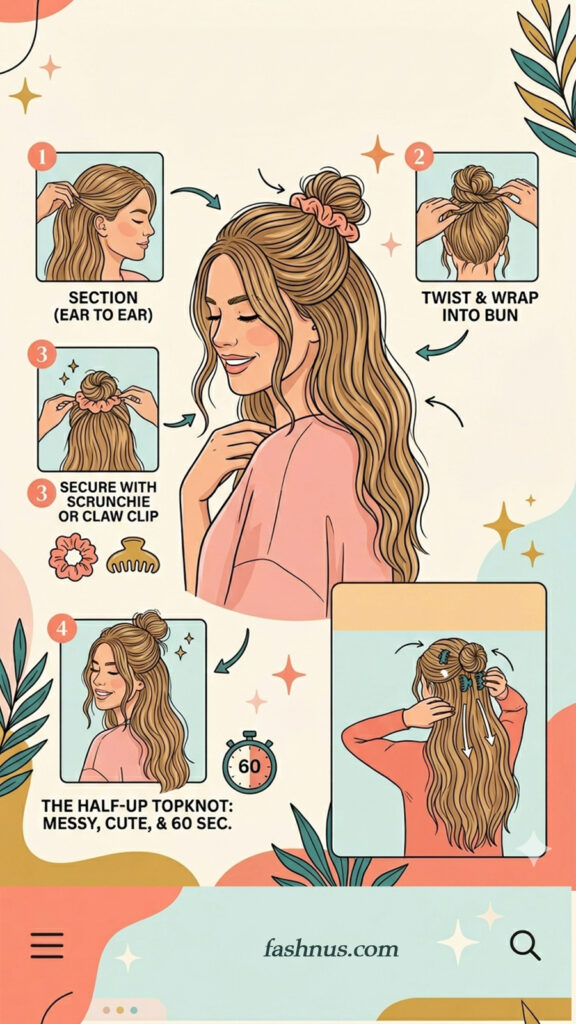
Half-up, half-down is a classic. But the half-up topknot is the lazy-girl upgrade.
Section off the top half of your hair (from ear to ear). Twist it loosely and wrap it into a small bun on top of your head. Secure with a scrunchie or small claw clip. Leave the rest of your long hair flowing down.
Why it works: The topkunt gives height and attitude. The loose bottom hair keeps it feminine.
For long hair: If your half-up section is heavy, use two small claw clips to distribute the weight.
Save-worthy tip: Pull out tiny baby hairs around your forehead. It makes the whole look softer and more intentional.
https://clients.verpex.com/aff/?a_aid=refid&a_aid=69d27e5eb64e7
5. The Side Braid (Sleepy to Sleek in 90 Seconds)
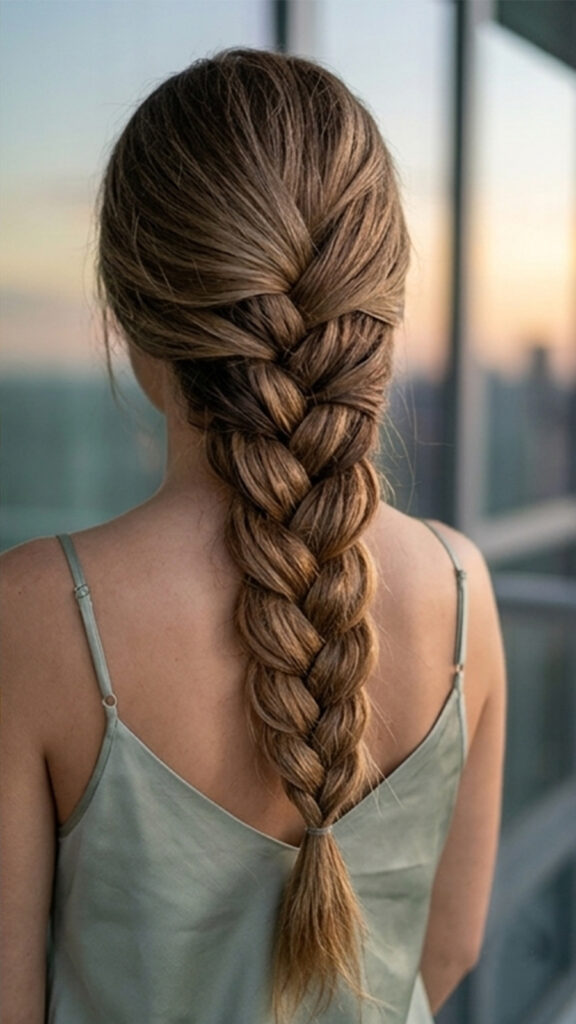
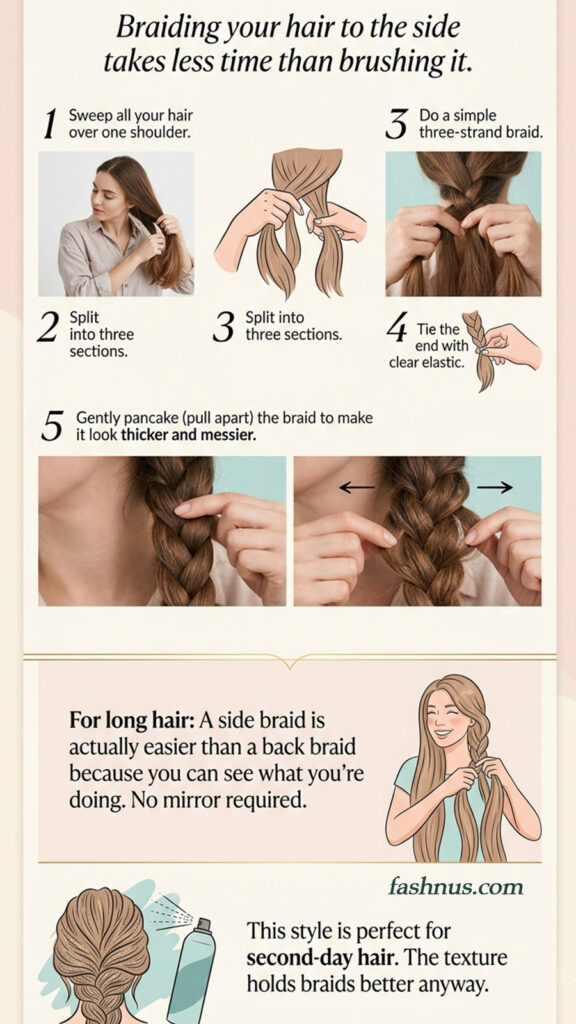
Braiding your hair to the side takes less time than brushing it.
Sweep all your hair over one shoulder. Split into three sections. Do a simple three-strand braid. Tie the end with a clear elastic. Gently pancake (pull apart) the braid to make it look thicker and messier.
For long hair: A side braid is actually easier than a back braid because you can see what you’re doing. No mirror required.
This style is perfect for second-day hair. The texture holds braids better anyway.
Save-worthy tip: Spray dry shampoo at your roots before braiding. It adds grip and volume so the braid doesn’t slip.
6. The Scrunchie Stack (Retro Chic, Zero Effort)

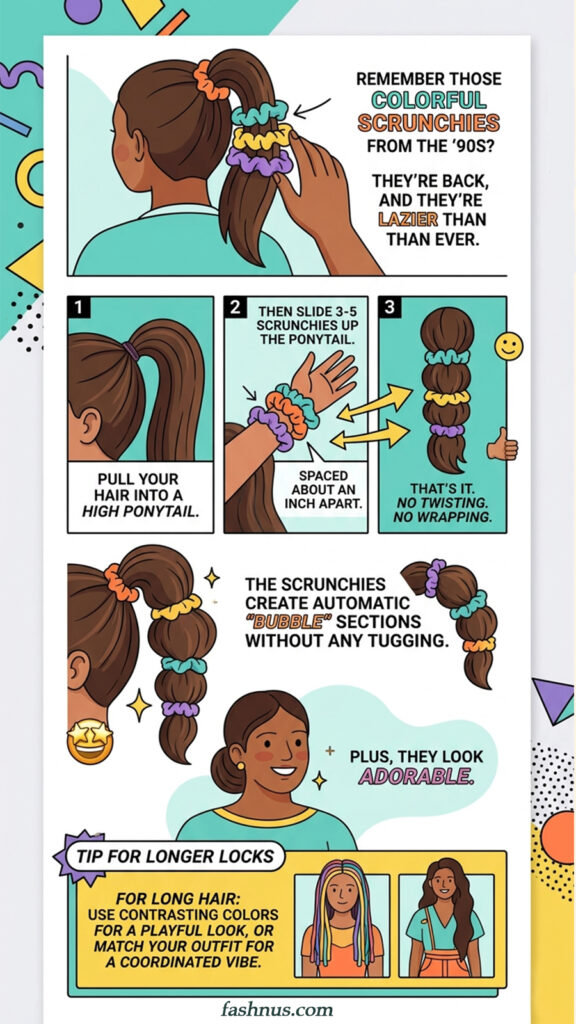
Remember those colorful scrunchies from the ’90s? They’re back, and they’re lazier than ever.
Pull your hair into a high ponytail. Then slide 3-5 scrunchies up the ponytail, spaced about an inch apart. That’s it. No twisting. No wrapping.
The scrunchies create automatic “bubble” sections without any tugging. Plus, they look adorable.
For long hair: Use contrasting colors for a playful look, or match your outfit for a coordinated vibe.
Save-worthy tip: Velvet scrunchies hold better than silk ones. Use velvet for all-day staying power.
7. The Low Twist & Pin (Elegant for Unexpected Plans)
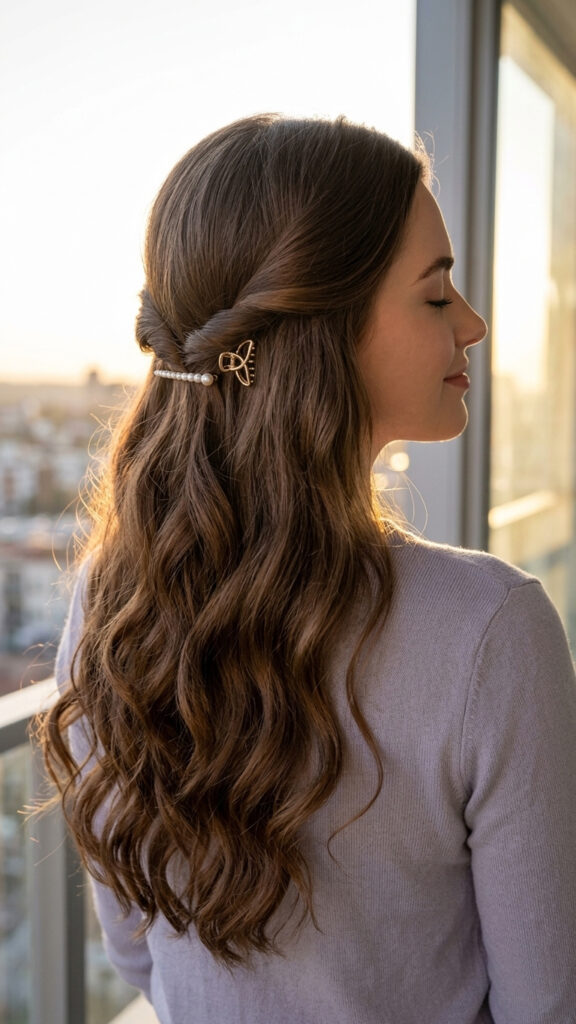
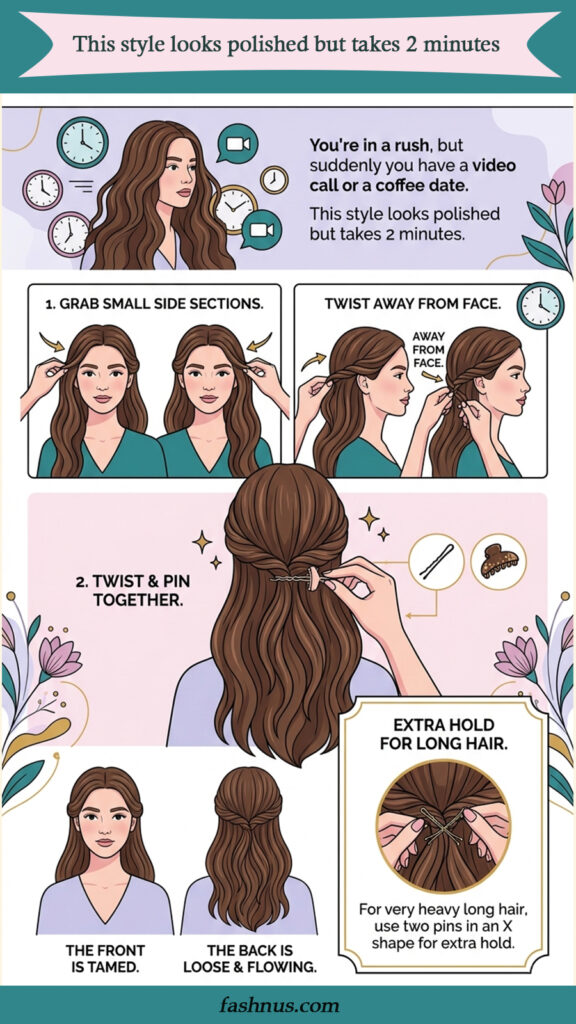
You’re in a rush, but suddenly you have a video call or a coffee date. This style looks polished but takes 2 minutes.
Grab two small sections from each side of your face. Twist each section away from your face. Bring both twists to the back of your head and pin them together with a bobby pin or small claw clip. Let the rest of your long hair fall naturally.
That’s it. The front is tamed. The back is loose and flowing.
For long hair: If your hair is very heavy, use two pins in an X shape for extra hold.
Save-worthy tip: Curl the ends of your loose hair with a flat iron for 30 seconds. It adds shape without a full styling session.
Bonus: How to Make Any Lazy Hairstyle Last All Day
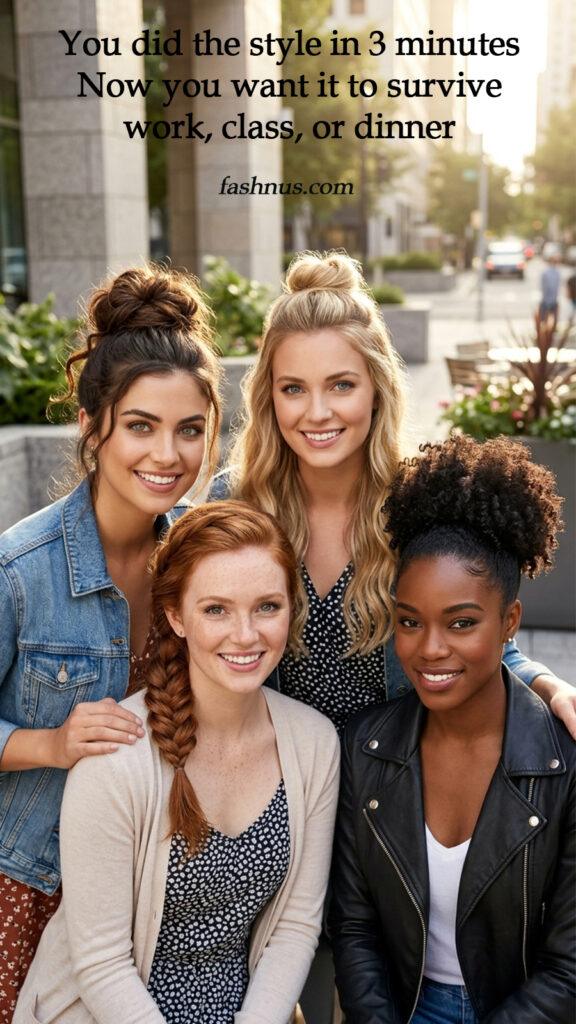
You did the style in 3 minutes. Now you want it to survive work, class, or dinner. Here’s how:
- Use texture spray or dry shampoo before styling. Clean, slippery hair won’t hold anything.
- Bobby pins go criss-cross (X shape) for security.
- Keep a mini claw clip in your bag for emergency touch-ups.
- Embrace the mess. Lazy-girl styles are supposed to look slightly undone. Perfect is overrated.
For more quick styling inspiration, here’s another favorite: [https://fashnus.com/7-prom-hairstyles-for-long-short-hair] – perfect for dressier occasions.
Table of Contents
Hi,
Alright, lazy girl – which of these 7 hairstyles are you trying tomorrow morning? Drop a comment and tell me your go-to claw clip move or bubble braid trick. I read every single reply, and I’d love to hear what actually saves you time. 💬